Showing posts with label Family Room. Show all posts

Wall Art Over the Couch

Since we have renovated our family room, I have not had any luck finding artwork to go over our couch.  It's a pretty big size wall and couch so I needed to do something that would make an impact.  After shopping around with no luck, I decided to create my own wall art.  To do this, I needed to decide what size pictures that I wanted to hang.  I decided to do 8 x 10 pictures, because I wanted to be able to update them very easily.  Once I made that decision I could purchase my frames.  All of the frames that you see here are from Ikea.  After knowing the measurements of my frames, I could choose how many would best fit across the couch.


The next decision was to decide on the pictures that I wanted to frame.  Believe it or not this was the hardest part.  After long consideration, I chose the pictures and developed them in sepia tone so that the coloring in the picture didn't have to compete with my decorations.  Once you have your pictures framed, lay them out on the ground because you need to balance your pictures out.  Give consideration to what the subjects are and try to spread out like pictures.


This was such a fun project and I love being able to share my memories when people come over and visit.

Family Room: Final Reveal

I have been sharing the process of completely renovating our family room with you and it's finally that time to show you the completed project.  I couldn't be happier with the way everything turned out.  The room is everything that I imagined it would be.  It's warm, cozy, and so comfortable to hang out in.  If you are having a hard time at remembering the before pictures click here.  I won't make you wait any longer, the suspense is over.  Enjoy the after pictures...


When I was deciding how I wanted the room to feel and look, I imagined neutrals and comfort.  I wanted the room to look great but feel very inviting.  To achieve this look, I kept the colors to cream, white, and brown, with a touch of red.  I added the touch of red so that the room wouldn't wash away.  It's nice to have that small hint of color.


It wasn't hard to achieve the look of comfort with the couch and chair that I picked out from PotteryBarn.  I realize it is not for everyone, but I have always wanted a couch and chair from PotteryBarn.  I love how comfortable they are and how nice they look.  They give such an inviting feel to a room.


When I was deciding on my furniture, I wanted to keep with my neutral color scheme.  One reason I love to keep my room neutral is so that I can change my accent color in and out without redecorating an entire room.  If I ever get tired of a color, all I have to change are a few pillows.


For now I am keeping the coffee table clear of decorations.  I like the clean look of the table now, but if I find that perfect piece I may place something on one side of the table and keep the other side clear.


One of my favorite pieces in this room is the media center.  I love the resemblance it has to a built in bookcase without it being permanent.  I find that bookcases can be a great display for decorations.  I love adding all of the personal touches to a room, but I don't like when it becomes too much.  With having all of the available decorating spaces on the shelves I was able to keep the decorating on my window table and fireplace to a minimum.


I wanted the decorations in the media center to be substantial yet fall into the background at the same time.  When I was decorating the media center, I had to remember that the purpose of the shelving unit is to hold our television, so I didn't want the decorations to over power that and be distracting.


You can see that I repeated a few of my decorations throughout the shelving.  I wanted to have continuity on both sides with a few differences.  I also added a little green by filling my glass jars with moss.  

When placing your decorations, try to balance your colors out.  You don't want one side to have all the light colors and the other side to be filled with all dark decorations.  Try to mix the light and dark with each shelf.  I also added the baskets to the shelves to tie in the rug and decorations from other rooms in my home.


When I was deciding how I wanted to decorate the other side of the room, I really liked the idea of having a long table under our new window.  I wanted that side of the room to tie in with the rest, but also have it's own purpose.  I love the combination of the dark table with the crisp, white curtains on both sides.


To have continuity throughout the room, I used the same candle holder on this table that I used in the media center.  I also used a large vase with the same finish to compliment the candle holder.  I chose to use green flowers because I did not want the flowers to directly match the colors of the room.  I wanted them to appear more natural and picked as opposed to matching the pillows.


I know I keep saying this, but this next picture is one of my favorites as well.  I added two of the same ottomans to go under my window table.  Not only do they give a unique look but you have two additional places for seating.  I really liked how the ottomans were not the typical shape as well as the fabric.  They match the style of the rest of the room without blending in too much.


I hope you enjoy my after pictures.  It was so much fun creating this room from start to finish and sharing the process with you.

Family Room: Sneak Peak

Our family room is finally coming together.  We have been working so hard to get it done and we are finally seeing some end results.  Today I am going to be sharing a little sneak peak of some of the decorations/updates. 

The first sneak peak that I would like to share with you is a little bit of our decorations that are being used throughout the room.  From the picture you can obviously tell that this table is sitting in front of our window.  I wanted to have something substantial on the table without taking up the entire window.  You will have to wait to see the entire table, the legs of the table are my favorite part!


The last sneak peak you will be seeing until the final reveal is our new fireplace!  I am so happy that we added this to our room.  It is so nice to have on, plus it looks great even when it is not in use.  When I reveal the entire room at it's completion I will give more information about the fireplace in case anyone out there is considering one for their home.


Hopefully I will be sharing the room with you very soon.  I am just waiting on a couple of things to come in that I had to order online.  In the mean time, I am going to be decorating for Easter to try and get my mind off of waiting for a shipment!  I have realized that things don't get to you faster just because you constantly track a shipment!

Check back to see how I decorate for Easter!


Family Room: Floors

I am so excited to share my new floors with you!  We knew that we wanted the click and lock hardwood laminate flooring, the only major decision was the color and finish.  I wanted something unique, but I also wanted something that I could live with forever considering we are wanting to do this in the rest of the house as well.

Here is what we decided on...


When we were going through all of the options, we kept leaning toward the wider boards and the boards with the hand scraping.  I also chose this floor because of the muted color.

I hope you enjoy my floors like I do.  If you have any questions about them feel free to email me.  Soon I will be giving you a little sneak peak of my decorations for that room.

Family Room: Windows and Drywall

Our new windows and drywall is installed!  I was obviously a little behind on my before pictures.  The process hasn't been quite this fast.  We ordered our new windows from HomeDepot and hired someone to do our drywall hanging and mudding.

Window Before


Window After


I chose two double-hung windows for the front of the room.  I wanted them to match the windows in the rest of our home so this room wouldn't look like an addition.  They are also really nice because it's actually two windows in one frame.

Windows Before


Windows After


For the windows in the back of the room, I chose to use awning windows.  I really like how the whole window is open and they seem to match the style of our home better than sliders.

Drywall...


You wouldn't think drywall would be too exciting, but it is.  It's so nice when you get to the point of putting your room back together.

The next step will be installing our flooring and trim.  I can't wait!

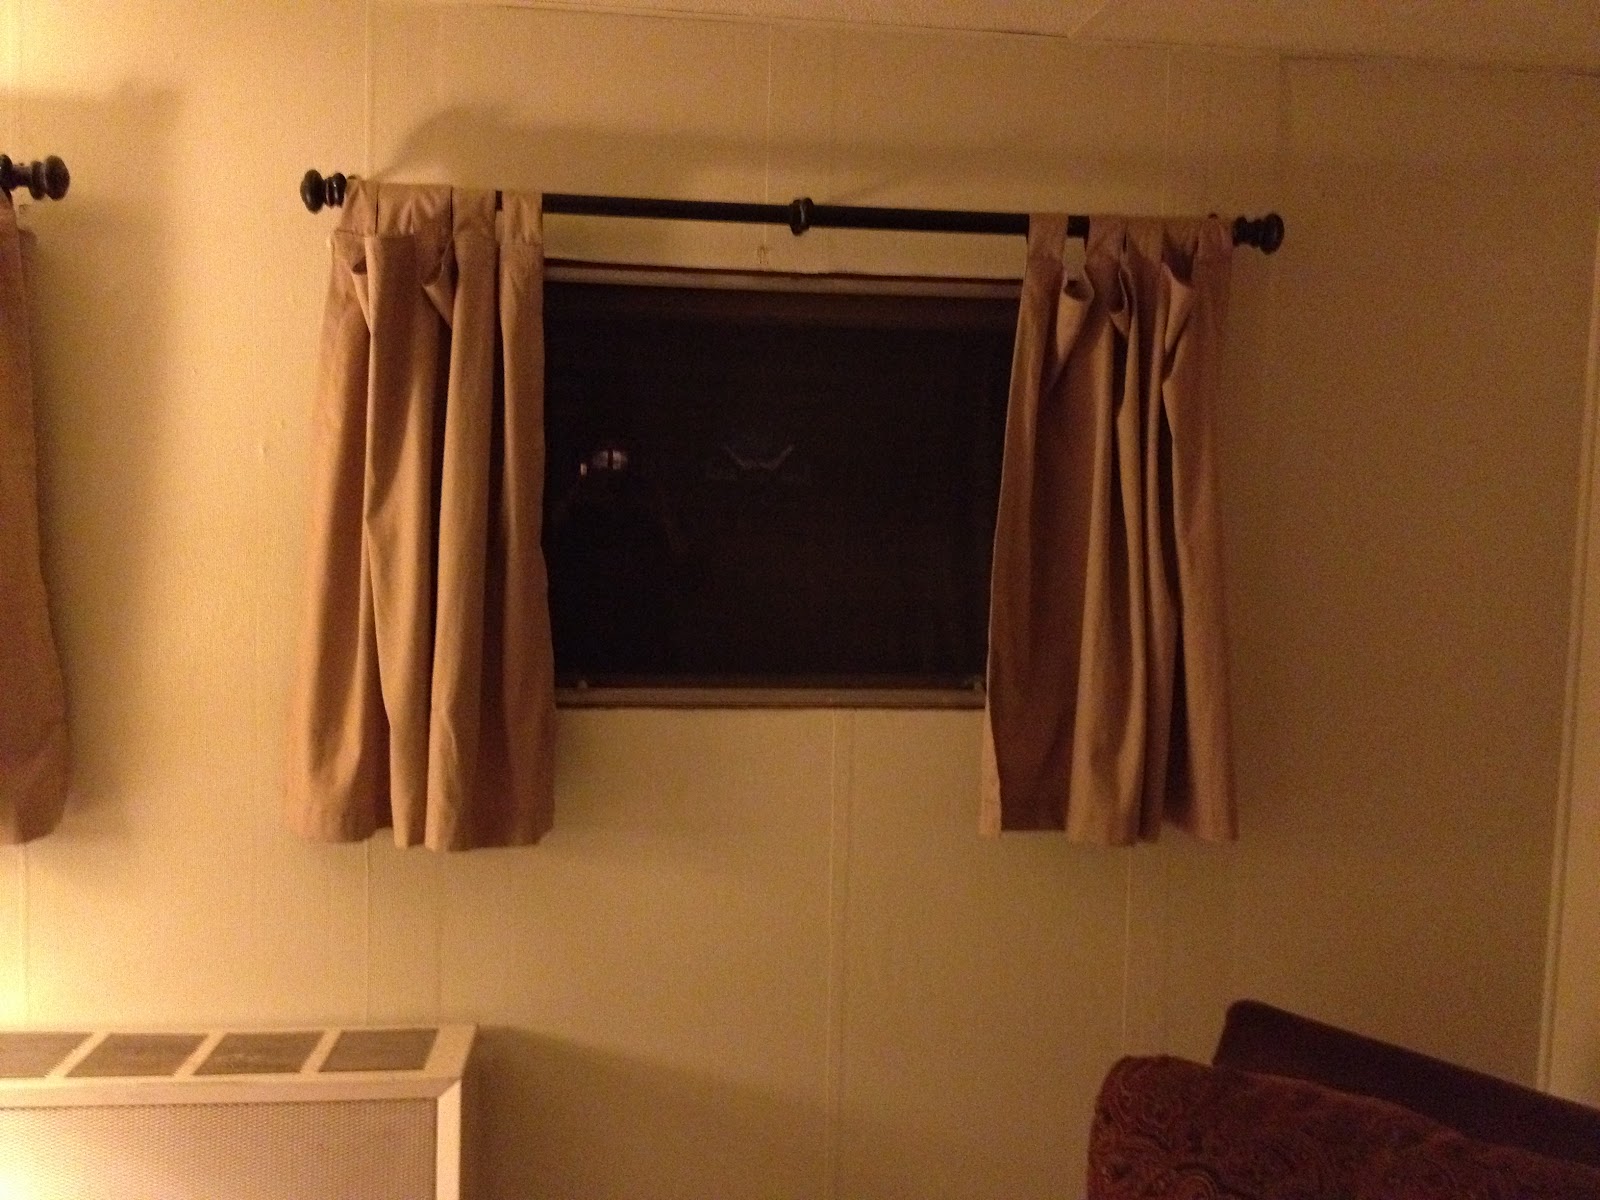
Family Room: Before

I mentioned before that I had plans to completely renovate our family room.  Well...that time has come and I couldn't be happier!  I am going to be letting you in on our entire process from start to finish.  This family room post is all about the before pictures.  In our home, we have two family/living rooms.  The family room has sat empty since we have lived here because it really needed to be totally redone.  Our plan is to make the living room that we have been living in into the more "formal" living room.  I put formal in quotes because we are anything but that.  The room that we are redoing will then become our main living area.

Our family room had old windows, bad carpet, and paneling.  So, needless to say we really wanted to start from scratch.  We will be redoing the windows, drywall, electrical, lighting, flooring, and trim.  We are doing some of the work ourselves, but we are also hiring some of the work as well.

Enjoy the before pictures, because it's the last time you will see that room. (wow that feels good to say)


Floor
Related Posts Plugin for WordPress, Blogger...